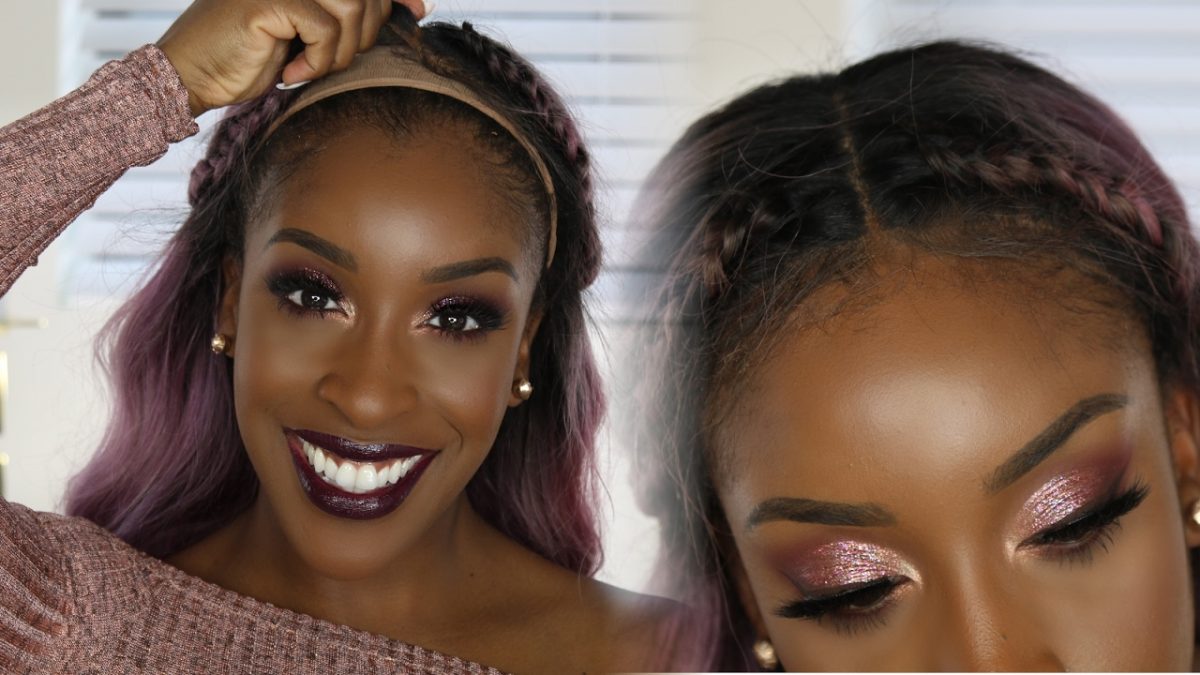
Watch This Video On How To Customize Your Lace Frontal Wig For A Natural Look
- Yinka
- June 5, 2020
- Beauty, How Tos
- How-To: Customize Your Lace Frontal Wig |FabWoman, jackie aina, lace frontal, lace frontal wig, lace frontal wig customize, lace wigs, Wigs, wigs for nigerian women
- 0 Comments

Ladies love the lace frontal wig, and always want it to look as natural as possible.
It’s not every time you get to style your lace frontal wig in the way that it looks natural, and it just gets embarrassing because everyone will know “IT’S A WIG”! However, we’ve got what you need.
Here are steps to customizing your lace frontal wig:
1. Bleach Knots
At the root of your wig, you’ll find some tiny specks that look like small dots when you wear it. Bleaching them will help the lace on your frontal blend with your scalp.
To do this, turn the frontal inside out. As soon as you finish this process, wash out the bleach and allow it to dry.
Note: Do not bleach the hair itself, just the knots.
2. Pluck the Frontal
After the hair is dry, you should use tweezers to pluck out the front for a smooth hairline.
If you have your frontal pre-plucked, then you don’t need to worry about this step.
3. Create your Baby Hair
From the hairline, separate a section you would want to use for your baby hairs. Next, use a blade to cut some hair out to your desired length.
4. Braid hair and install wig
After customizing, braid your hair or make it flat and use your wig cap to cover it.
Just ensure that your hair is flat and won’t affect the shape of your head when you wear your wig.
5. Lay Frontal wig
Lightly use a foundation of your skin colour to lace part of your frontal. This is essential to add more scalp.
Lay it down with the lace frontal and apply a little glue to your hairline at the front, then lay the frontal on top of the glue. Dry the glue with a blow dryer or scarf.
After this, you can choose to create baby hairs if you want to.
6. Style as desired
Style your frontal however you like it. If you have a 360 frontal, then you’re good with a ponytail.
There you have it! You’ve customized your lace frontal wig.
Watch this video of how Jackie Aina customizes her lace frontal:


